Replacing garage door springs can be a challenging task for homeowners, but with the right guidance and tools, it’s entirely achievable. This manual aims to simplify the process of garage door spring replacement, ensuring you can complete it safely and efficiently.
Understanding Garage Door Springs
Before diving into the replacement process, it’s important to identify the type of springs your garage door uses. Garage doors typically use either torsion springs or extension springs. Torsion springs are mounted horizontally above the door, providing balanced and controlled movement. Extension springs, on the other hand, are located on either side of the door and extend and contract to open and close the door. Knowing which type you have is crucial for a successful replacement.
Preparing for the Replacement
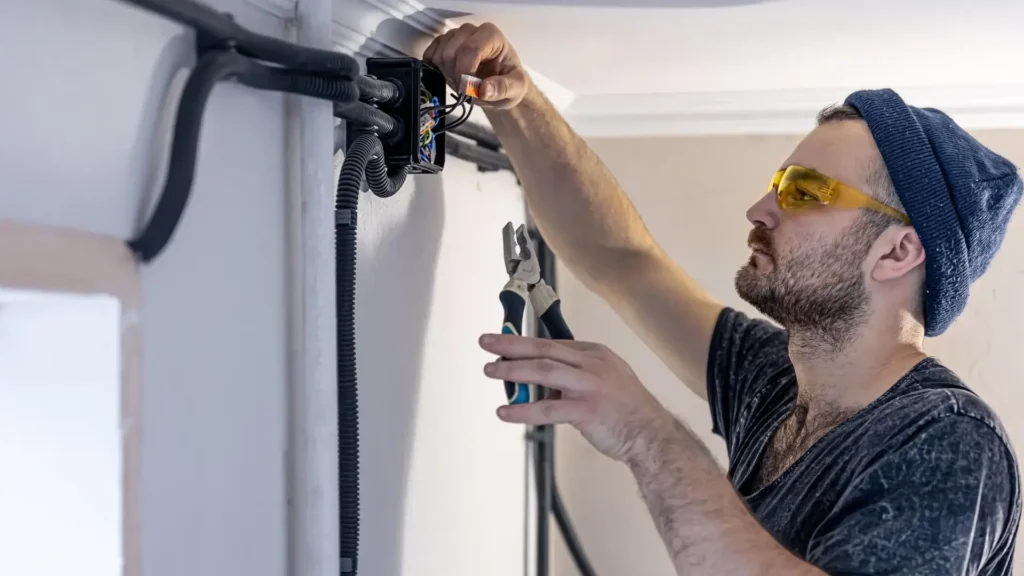
Safety is paramount when performing a garage door spring replacement. Begin by gathering the necessary tools, including winding bars, an adjustable wrench, a socket set, C-clamps or locking pliers, safety glasses, gloves, and a sturdy ladder. Ensure the garage door is fully closed and disconnect the power to the garage door opener to prevent any accidental activation during the process.
Securing the Garage Door
To avoid any movement while working, use C-clamps or locking pliers to secure the garage door in place on the track. This step is crucial to prevent any injuries or accidents during the replacement.
Releasing Tension on the Springs
For torsion springs, insert a winding bar into the winding cone and carefully loosen the set screws with an adjustable wrench. Hold the winding bar firmly and slowly release the tension by turning it one-quarter turn at a time until the spring is fully unwound. For extension springs, detach the safety cables and remove the springs from the brackets and track.
Removing the Old Springs
Once the tension is released, remove the old springs. For torsion springs, slide them off the torsion bar. For extension springs, disconnect them from the door and pulley system. This step might require some effort, but it’s essential for installing the new springs correctly.
Final Inspection and Maintenance Tips
Conduct a final inspection to ensure all components are securely in place. Check the cables, brackets, and springs for proper alignment and tension. Regular maintenance can extend the life of your garage door springs. Lubricate the springs and moving parts every six months, and routinely check for signs of wear and tear, such as rust or fraying. Keeping the garage door clean and free from debris can also help maintain its functionality.
Garage door spring replacement is a manageable task for homeowners with the right tools and instructions. However, if you feel unsure or encounter any difficulties, don’t hesitate to call a professional. Safety should always be your top priority, and professional help can ensure the job is done correctly and safely.
Learn more:
Essential Tips for Identifying and Replacing Worn-Out Garage Door Springs
Step-by-Step Instructions for Replacing Your Residential Garage Door Springs