Replacing your residential garage door springs can seem like a daunting task, but with the right tools and guidance, you can tackle it safely and efficiently. This guide provides a clear, step-by-step process for a successful garage door spring replacement.
Understanding Garage Door Springs
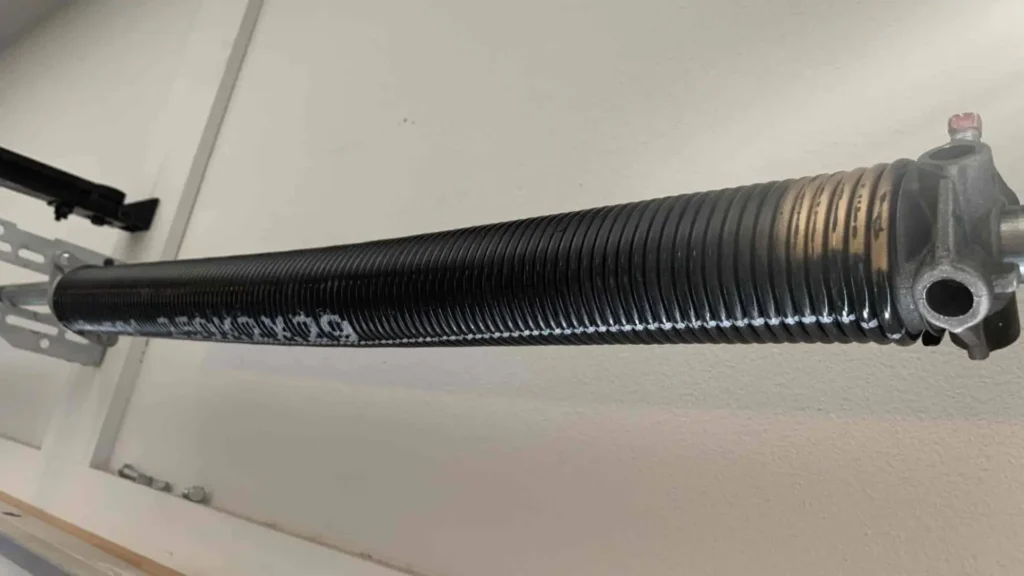
Garage doors typically use two types of springs: torsion springs and extension springs. Torsion springs are mounted above the door, while extension springs are located on either side. Knowing the type of spring you have is crucial for the replacement process.
Tools and Safety Equipment
Before starting, gather the necessary tools:
- Winding bars (for torsion springs)
- Adjustable wrench
- Socket set
- C-clamps or locking pliers
- Safety glasses and gloves
- Ladder
Safety is paramount. Always wear safety gear and ensure the garage door is fully closed and disconnected from the power source to avoid accidental openings.
Step-by-Step Instructions
1. Secure the Door
Use C-clamps or locking pliers to secure the garage door in place. This prevents the door from moving while you work on the springs.
2. Release Tension on the Springs
For torsion springs:
- Insert a winding bar into one of the winding cone holes.
- Hold the bar firmly while loosening the set screws with an adjustable wrench.
- Carefully release the tension by rotating the winding bars, one-quarter turn at a time, until the spring is fully unwound.
For extension springs:
- Detach the safety cables.
- Remove the springs from the brackets and track.
3. Remove the Old Springs
Once the tension is released, remove the old springs. For torsion springs, slide them off the torsion bar. For extension springs, disconnect them from the door and pulley system.
4. Install the New Springs
For torsion springs:
- Slide the new springs onto the torsion bar.
- Ensure the winding cone is positioned correctly on the side opposite the cable drum.
For extension springs:
- Attach the new springs to the brackets and track.
- Reinstall the safety cables.
When to Call a Professional
While DIY garage door spring replacement can save money, it can also be hazardous. If you’re unsure or uncomfortable with any step, it’s best to call a professional. They have the expertise and tools to safely and effectively complete the job.
Maintenance Tips
Regular maintenance can extend the life of your garage door springs:
- Lubricate the springs and moving parts every six months.
- Check for signs of wear and tear, such as rust or fraying.
- Keep the garage door clean and free from debris.
By following these steps, you can successfully replace your garage door springs, ensuring smooth and safe operation for years to come. Remember, safety first, and don’t hesitate to seek professional help if needed.
Learn more:
The Complete Homeowner’s Manual to Replacing Garage Door Springs
How to Replace Garage Door Springs Safely: A Comprehensive Guide for Homeowners